Adding Media to Your Kaiber Cuts Projects
This guide covers the different ways to add images, video clips, and sound to your Kaiber Cuts projects.
Written By Christine Larsen
Last updated 10 days ago
Cuts uses the media you add to a project to build your beat-synced videos. The more variety you add, the more you'll have to select from for each batch of videos.
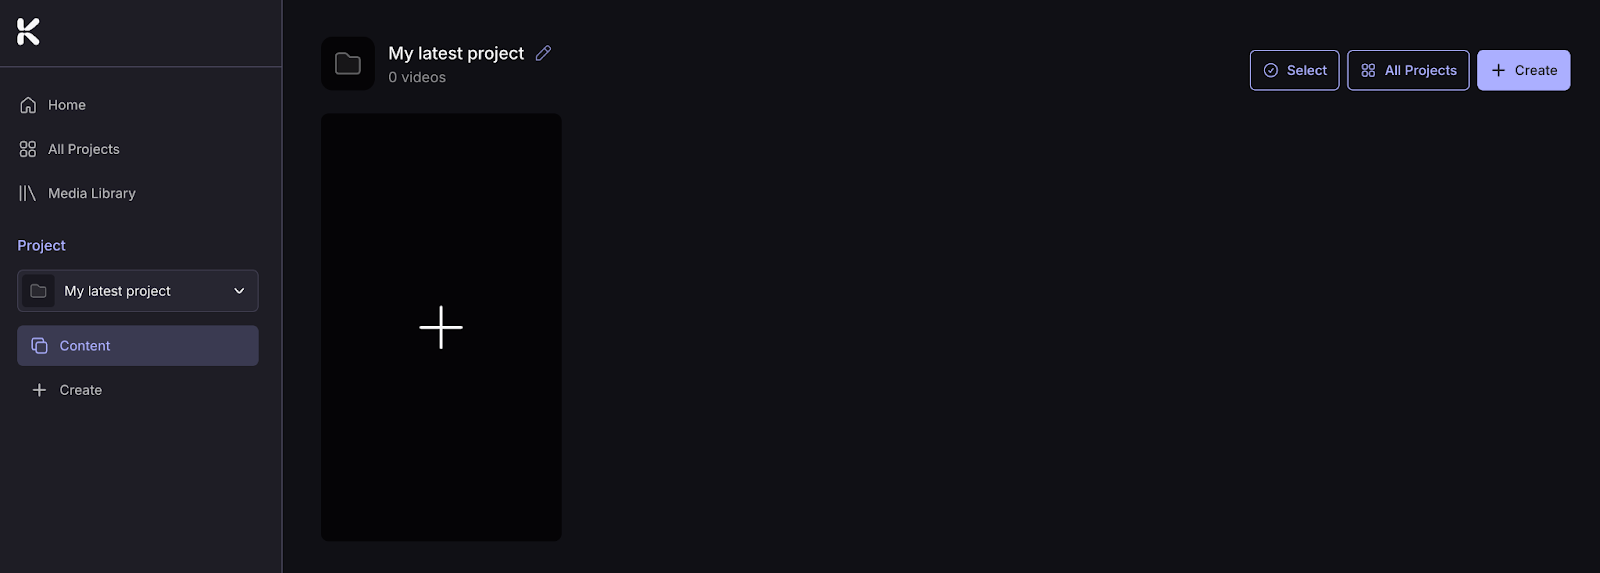
Start a new project or open an existing one, then click the + in a blank video tile on the Project Page to add media.

Upload from your device
Click Upload to select images or video clips from your device. Cuts accepts JPG, PNG, MP4, and MOV.
Uploaded media is saved to your Media Library and auto-selected for your batch. To deselect anything, hover over it and click the red X.
Auto-Clip a video
Click Auto-Clip video to upload a long video and let Cuts break it into shorter clips automatically. Great for breaking down concert footage, behind-the-scenes reels, or full music videos into ready-to-use material.
For the full walkthrough, see Auto-Clipping Videos in Kaiber Cuts.
Import from Pinterest
If you have a Pinterest account, you can pull pins straight into your project.
The first time you use this feature, you'll need to link your Pinterest account. Click Import from Pinterest and follow the steps. Once linked, your boards are accessible from any project.
To import:
Click Import from Pinterest
Choose a board
Click pins to select them
Click Import
Selected images get added to your Media Library, ready to use in any batch of videos.
Use media generated in Canvas
Already have images or videos generated or uploaded in Canvas? You can pull them straight into a new Cuts batch without re-uploading.
From the Cuts homepage:
Click Media Library
Select Canvas
Click the items you want to use
Click Batch Create in the Choose Action menu

A new project opens with your selected media added, ready to pair with sound.
Generate similar images and video clips
Got a couple of strong visuals but not enough to fill a batch? Want to test the same idea with different camera angles or character positions before generating your video? Generate Similar creates variations of your existing media so you can build on what you already have.
You'll find the Generate Similar button on the bottom right of each selected image or clip.
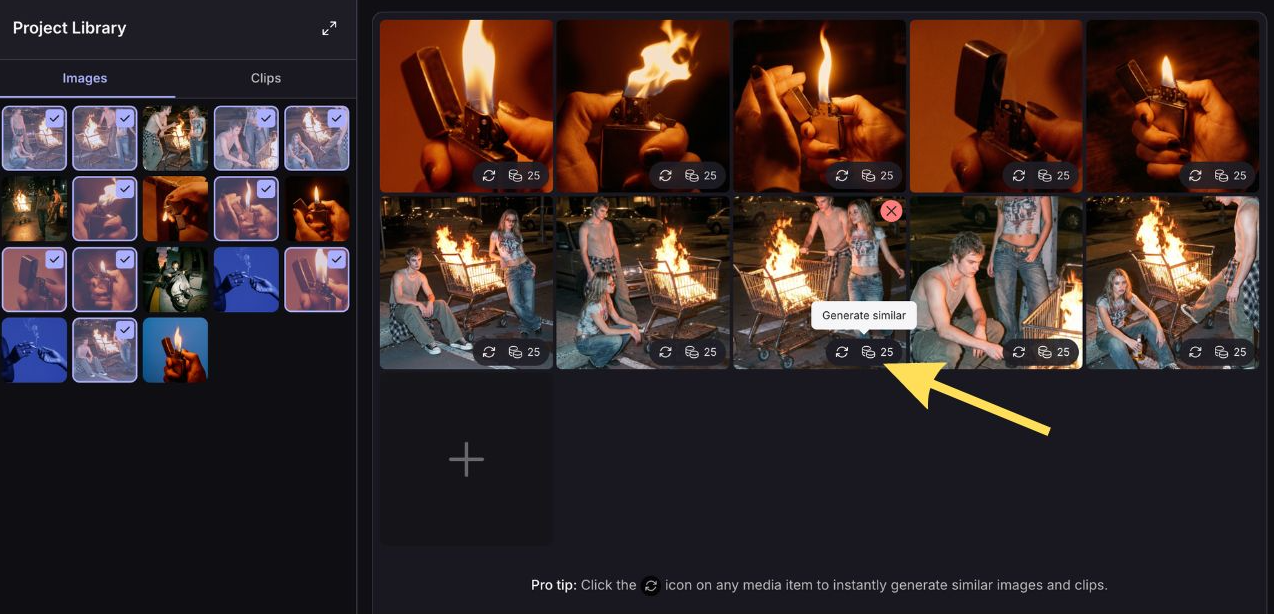
From an image: Generate Similar creates a new image inspired by the original. Camera angle, perspective, or character position might shift.
From a clip: Generate Similar makes a 5-second clip starting from the first frame of the original.
You can generate multiple items at once.
Adding audio
Once you have uploaded and selected visuals for a batch of videos, the next step is to add sound. Click the Next button on the bottom right to move to the audio upload screen.
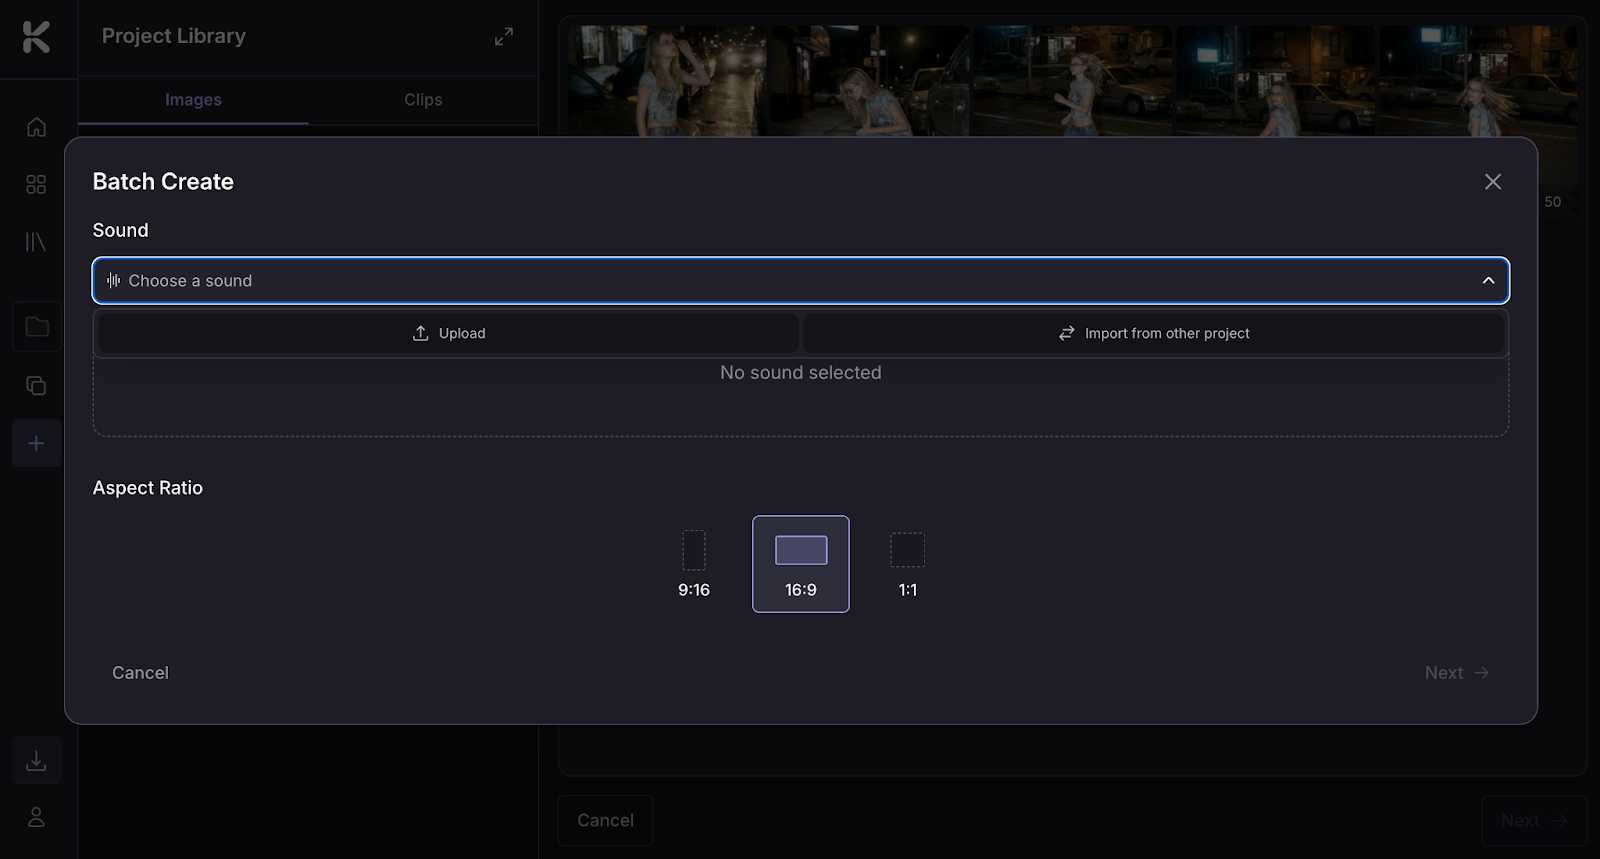
You can:
Upload audio from your device
Select a sound already saved to the project
Import a sound from another project
Once uploaded, the sound is saved to the project so you can reuse it in future batches of videos.
Before you generate,trim the section of the sound you want to use. Move the slider or adjust the timestamps.

You can adjust the audio trim on a generated video in Edit mode, or swap the track entirely.
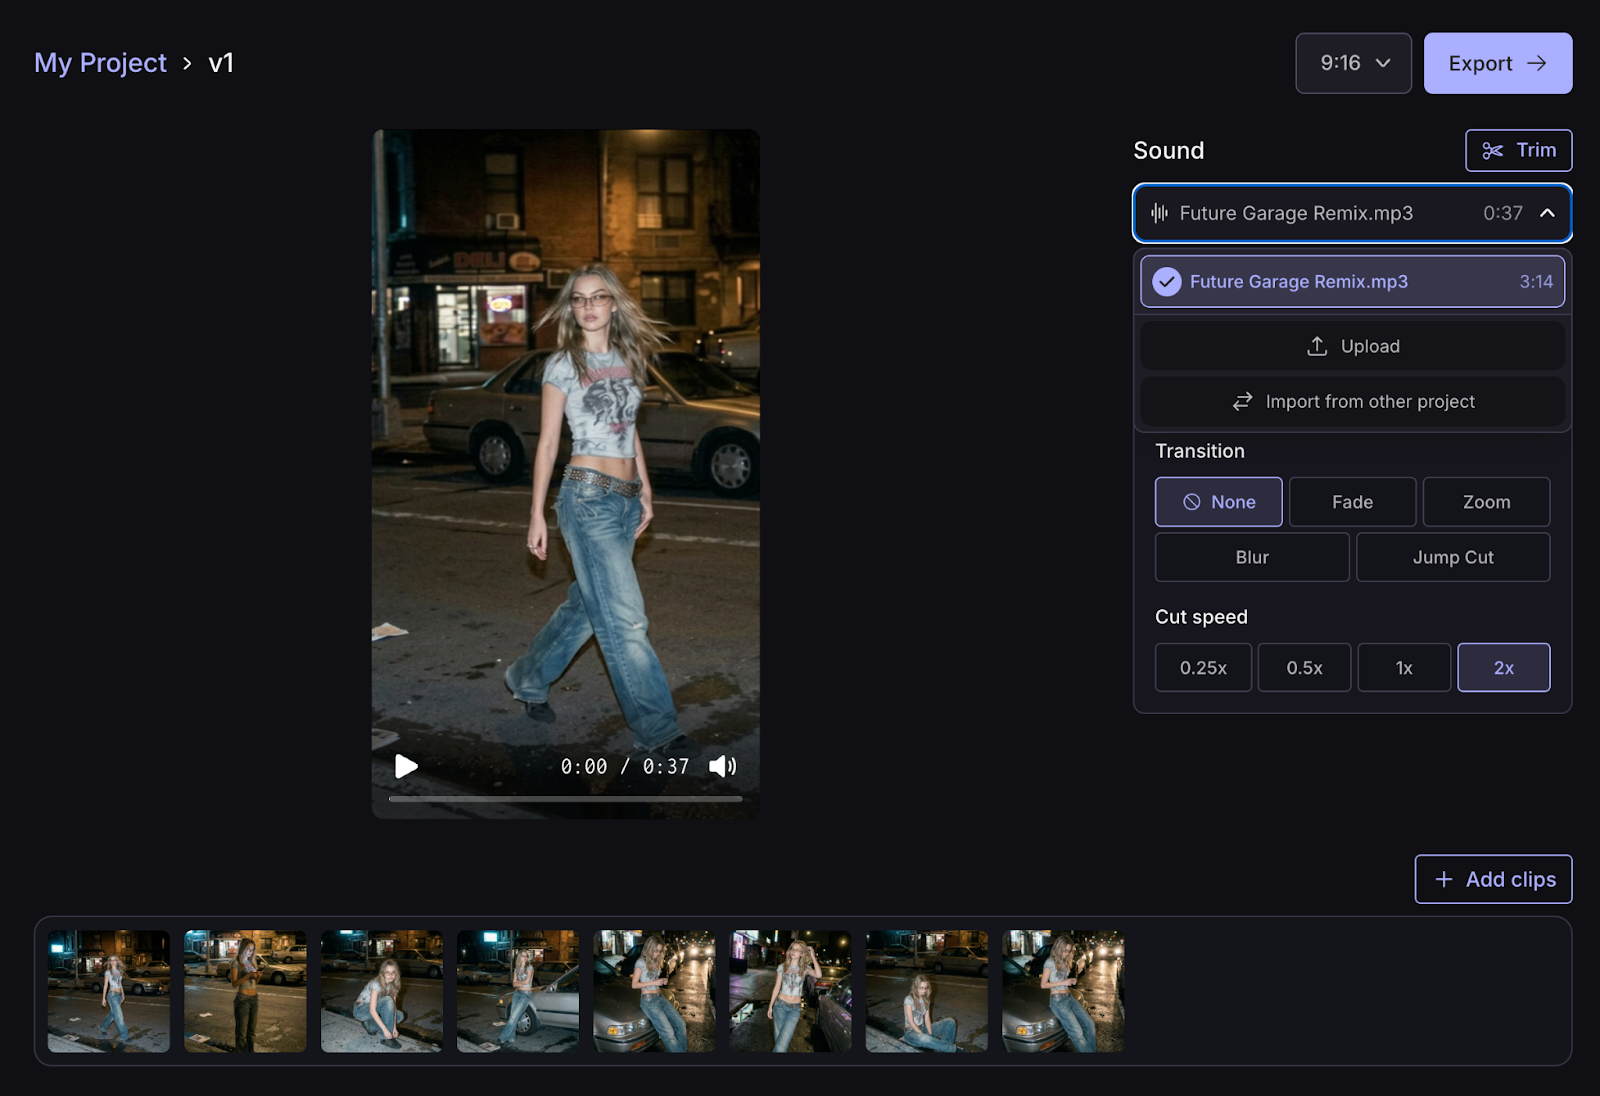
To change the sound on a video, open in Preview or Edit and click the track name. From there you can upload a new track, pick one already saved to the project, or import from another project.
FAQs